Virtual Hard Disk (VHDX) is an improved version of the virtual disk format that provides for greater disk capacity, protection from corruption, and the ability to work with larger block sizes. Understanding how to manage VHDX files is crucial for IT professionals working with virtualized environments, as efficient VHDX management can lead to improved system performance and reliability.
Getting Started with PowerShell for VHDX Management
PowerShell is a task automation and configuration management framework. To start managing VHDX files with PowerShell, familiarize yourself with basic cmdlets such as Get-Command, Get-Help, and Get-Item. These cmdlets allow you to explore available commands, understand their usage, and manipulate items like files and disks.
Creating VHDX Files with PowerShell
Creating VHDX files with PowerShell provides a flexible and powerful way to manage virtual disks. The New-VHD cmdlet is the primary tool for this task, allowing for the creation of both VHD and VHDX files. VHDX is a newer format with many benefits over the traditional VHD format, including improved disk capacity (up to 64 TB), protection against file corruption during power failures, and support for larger block sizes.
To create a VHDX file, use the New-VHD cmdlet. Specify the path and size of the file:
New-VHD -Path "C:\vhdx\MyDisk.vhdx" -SizeBytes 10GB -Dynamic
This command creates a 10GB dynamic VHDX file. Dynamic disks start small and grow as data is added, saving space. For a fixed disk, which allocates all the disk space immediately, replace -Dynamic with -Fixed. This choice affects performance and storage efficiency.
The New-VHD cmdlet also supports creating differencing disks, which store changes from another disk, reducing the need for duplicate data and saving space. This is achieved with the -Differencing switch and specifying a parent disk with -ParentPath.
Advanced options include setting block sizes for more efficient storage use and specifying logical and physical sector sizes, important for aligning with the underlying physical disk’s characteristics to improve performance.
This approach to creating VHDX files allows for automation and integration into larger workflows, providing a scalable solution for managing virtual storage in environments using virtualization technologies like Hyper-V.
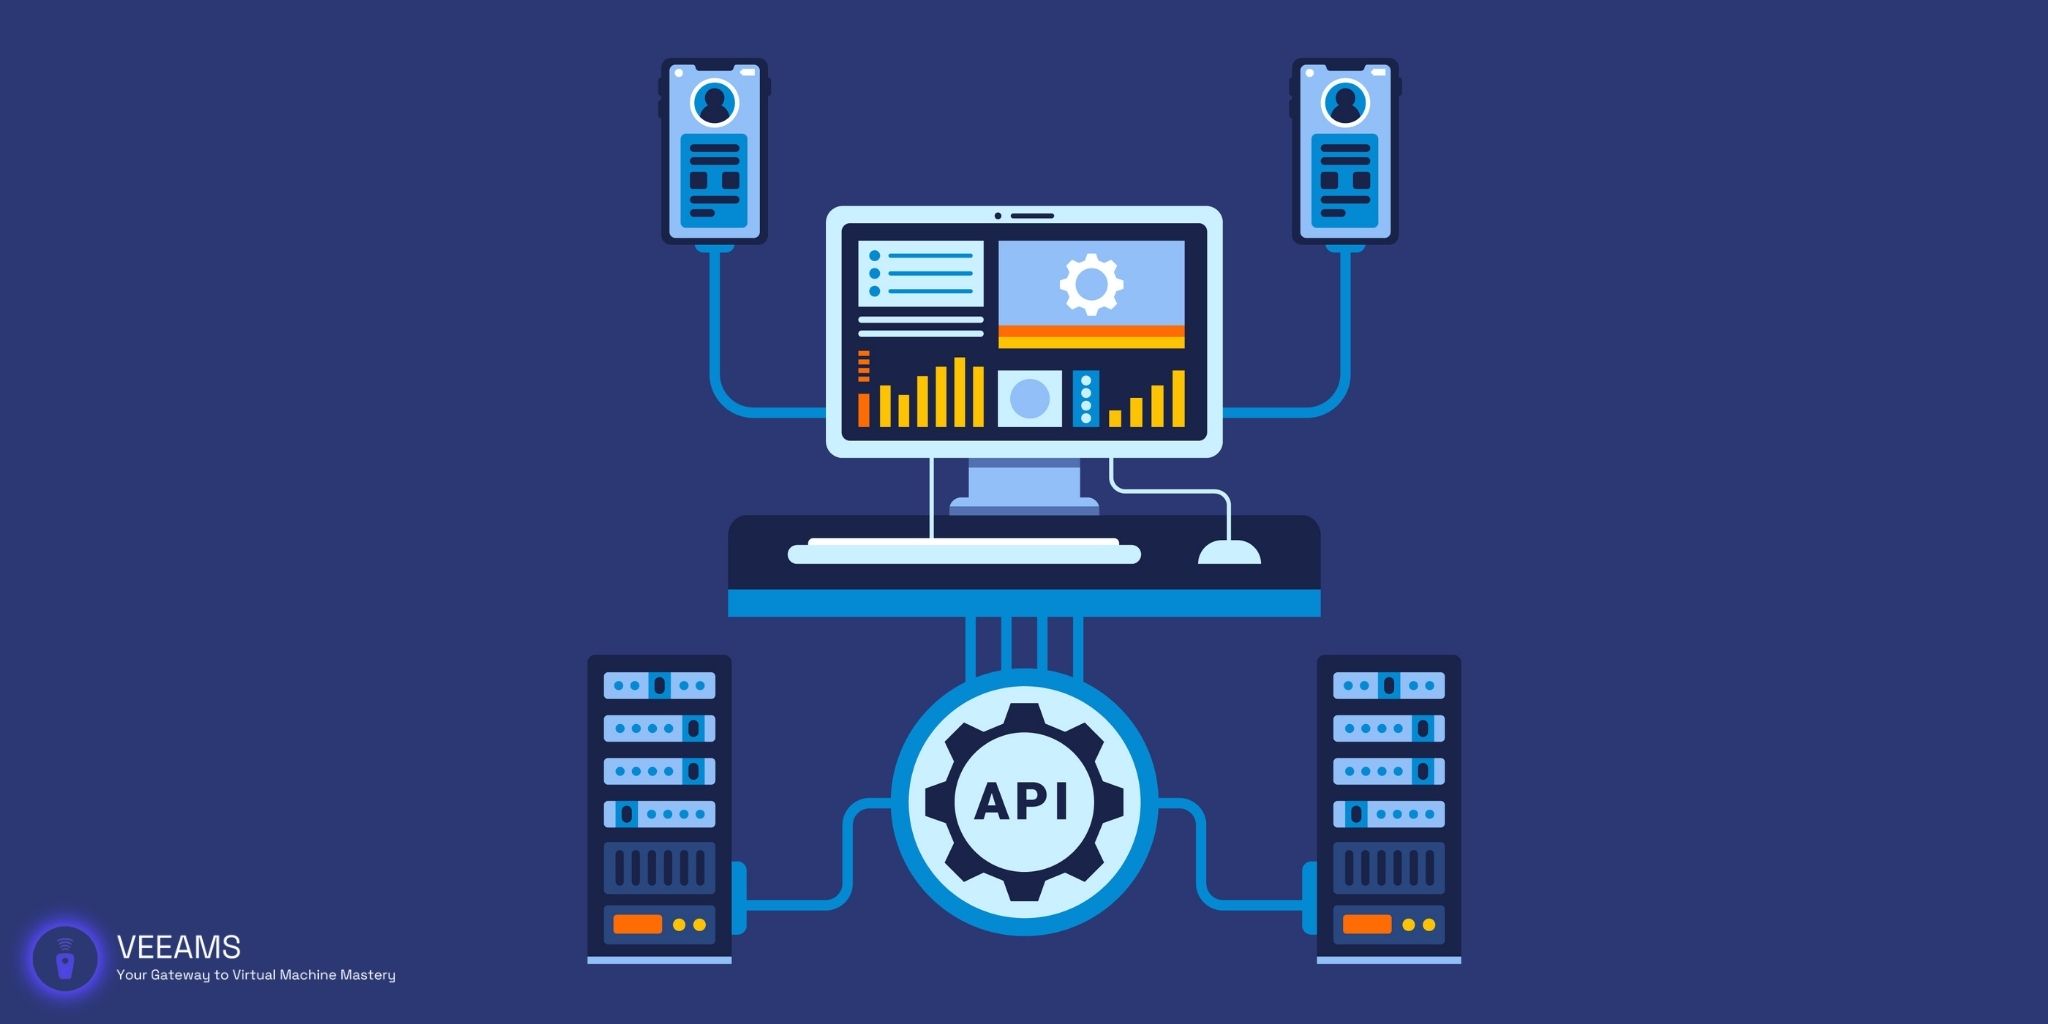
Manipulating VHDX Files Using API Integration
APIs provide a way to interact with system components at a lower level than PowerShell cmdlets. For managing VHDX files, consider using the Hyper-V WMI providers (part of the Windows Management Instrumentation framework). These providers offer detailed management capabilities, such as creating, configuring, and converting virtual hard disks. Reference Microsoft’s documentation for examples and specifics on how to use these APIs with your preferred programming language, focusing on the Msvm_VirtualHardDiskSettingData class for VHDX operations.

Mounting and Unmounting VHDX Files with PowerShell
Mounting VHDX files is straightforward with the Mount-VHD cmdlet. This action integrates the VHDX file as if it were a physical disk within the system, allowing for file interaction and data management as with any hard drive. For instance:
Mount-VHD -Path "C:\vhdx\MyDisk.vhdx"
Unmounting, performed with Dismount-VHD, reverses this process, safely detaching the VHDX file from the system. This ensures that all file transactions are complete and prevents data corruption:
Dismount-VHD -Path "C:\vhdx\MyDisk.vhdx"
Advanced PowerShell Scripts for VHDX Automation
Creating scripts for VHDX automation can streamline many aspects of disk management. For example, a script could automatically mount a VHDX file, perform data integrity checks, and then unmount the VHDX file upon completion. Another application could be automating the backup process for critical data stored on VHDX files by mounting them, copying the necessary files to a backup location, and then dismounting them.
A simple script to automate the mounting and checking of disk space on the VHDX file could look like this:
$vhdxPath = "C:\VHDs\MyVirtualDisk.vhdx"
Mount-VHD -Path $vhdxPath
$diskInfo = Get-Disk | Where-Object { $_.Path -eq $vhdxPath }
Write-Output "Disk size: $($diskInfo.Size) bytes"
Dismount-VHD -Path $vhdxPath
This script mounts the VHDX, retrieves its size, displays that to the user, and then unmounts the VHDX file.
By leveraging PowerShell’s full capabilities, you can automate virtually any aspect of VHDX management, significantly reducing manual workload and increasing efficiency.
Best Practices for VHDX Management
- Regularly check VHDX files for corruption using
Test-VHD. - Avoid over-allocating disk space to dynamic VHDX files to prevent disk fragmentation.
- Use PowerShell scripts to automate routine tasks, ensuring consistency in VHDX management.
Troubleshooting Common VHDX Issues
Common VHDX issues include file corruption and access denied errors. Use Test-VHD to check for corruption:
Test-VHD -Path "C:\vhdx\MyDisk.vhdx"
If a VHDX file is corrupted, attempt recovery using the Repair-VHD cmdlet. For access issues, ensure proper permissions are set on the VHDX file and its containing folder.
Conclusion and Further Resources
Efficient management of VHDX files using PowerShell and API integration can significantly improve the performance and reliability of virtualized environments. For further exploration, Microsoft’s documentation provides a wealth of information on PowerShell cmdlets and Hyper-V WMI providers.