VMware’s vCenter Converter stands out as a powerful tool in this transition, offering seamless Physical to Virtual (P2V) and Virtual to Virtual (V2V) conversions. This guide serves as your comprehensive resource to understand and effectively utilize vCenter Converter VMware.
vCenter Converter simplifies the process of converting physical machines into virtual machines (VMs), and also facilitates the conversion between different VM formats. Its versatility and ease of use make it an invaluable tool for IT professionals looking to optimize their virtual environments.
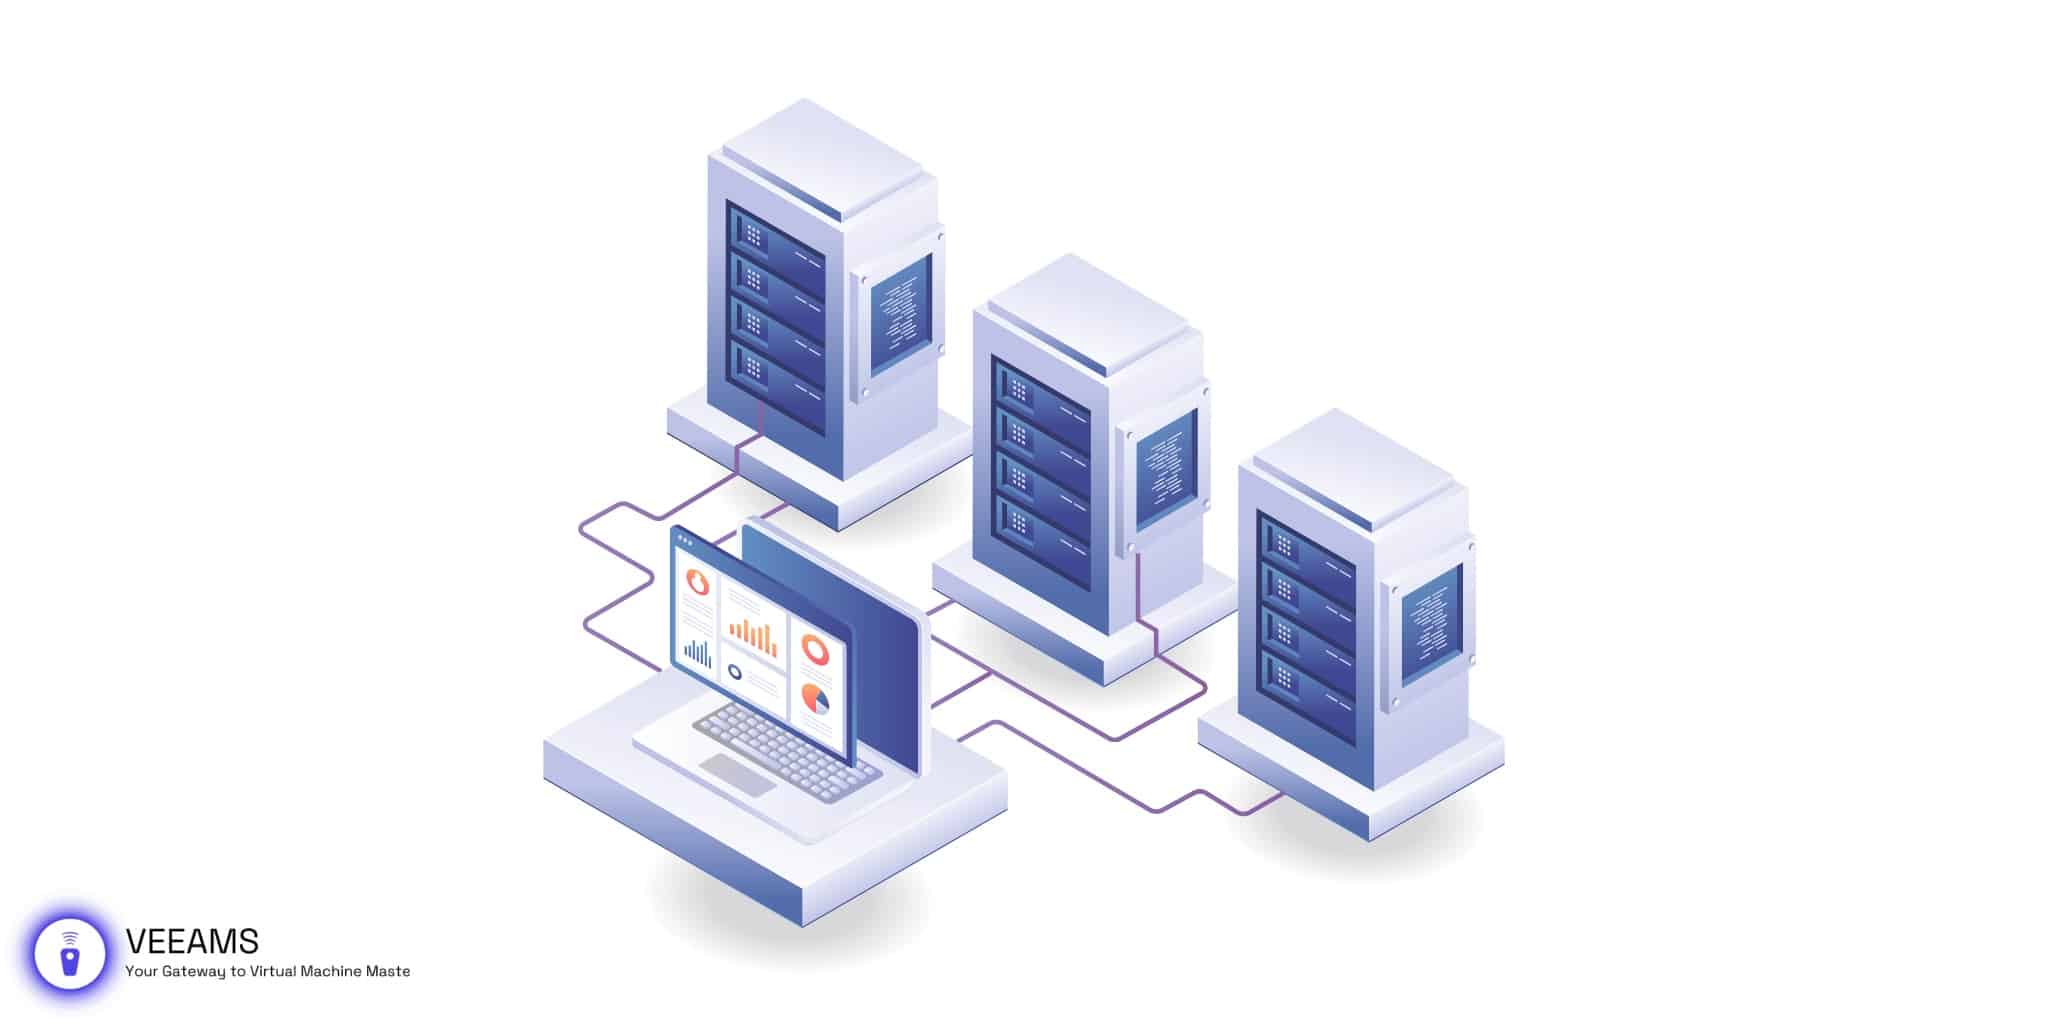
P2V & V2V Conversions
P2V conversions involve transforming the operating system, applications, and data on a physical server into a virtual machine. This process is crucial for businesses transitioning to virtual infrastructures, reducing physical server dependencies while enhancing flexibility and disaster recovery capabilities.
V2V conversions, on the other hand, are about converting VMs from one format to another. This is particularly useful when migrating between different virtualization platforms or upgrading to newer virtualization technologies.
Getting Started with vCenter Converter
Beginning your work with vCenter Converter involves a few key steps: selecting the right installation type, installing the software, and configuring your system. Here’s a streamlined guide:
Choosing the Installation Type
- Local Installation: Best for direct management of conversions on a single machine. It installs the server, agent, and client on the same machine.
- Client-Server Installation: Ideal for remote management in larger setups, allowing flexibility in component installation.
Installation Steps
- Download: Get the latest version from VMware’s official website, ensuring compatibility.
- Run Installer: Follow the setup wizard, accepting the license terms and choosing your installation type.
- Customize Settings: Adjust settings like installation location and network ports if needed.
- Complete Installation: Follow the instructions to finish the setup.
Post-Installation Configuration
- Configure Firewalls: Make sure the necessary ports are open in your firewall for Converter traffic.
- Launch and Update: Start the Converter application and check for any available updates.
Preparing for Conversion
- Understand Requirements: Familiarize yourself with the source and destination specifications.
- Ensure Network Stability: A reliable network connection is crucial for successful conversions.
- Backup: Always back up your source machine to safeguard against data loss.
With these steps, you’re ready for your first P2V or V2V conversion. Remember to proceed carefully and prepare thoroughly for the best results.

Step-by-Step Guide to P2V Conversion
Converting physical machines to virtual machines (VMs) is straightforward with vCenter Converter. Here’s a brief walkthrough:
- Launch Converter: Start the vCenter Converter and choose ‘Convert Machine’.
- Source Selection: For physical machines, select ‘Powered on’, then choose ‘Remote Windows/Linux machine’. Enter necessary credentials and IP address.
- Destination Configuration: Choose ‘VMware Infrastructure virtual machine’ as the destination and input your ESXi host or vCenter server details.
- Initiate Conversion: Customize VM settings as needed and start the conversion. Monitor its progress through the Converter interface.
Remember to check network connections and ensure compatibility between the source machine and the VMware environment for a smooth conversion process.
Conversion Process:
- The converter will analyze the source machine and provide a summary.
- Customize the VM settings as needed, including storage, network, and hardware options.
- Initiate the conversion process and monitor its progress.
How to Perform V2V Conversion with vCenter Converter
V2V conversion, or converting from one virtual machine format to another, involves:
- Source VM Selection: In vCenter Converter, select the existing VM you wish to convert.
- Destination Setup: Configure the destination settings similar to P2V conversions, ensuring compatibility with your virtual infrastructure.
- Conversion Process: Adjust any necessary VM settings, then start the conversion. Monitor the process until completion.
This simplified approach to V2V conversions allows for efficient migration or upgrade of virtual machines within different VMware environments or formats.
Best Practices for Using vCenter Converter
To optimize your experience with vCenter Converter and ensure successful conversions, consider these best practices:
- Pre-Conversion Preparation: Before initiating a conversion, thoroughly assess the source machine. Ensure there’s enough disk space, minimal running services, and no unnecessary applications. This reduces the load and potential issues during conversion.
- Network Stability and Speed: A stable and fast network connection is crucial. Slow or unstable networks can lead to prolonged conversion times or failures.
- Disable Unnecessary Services and Applications: Turn off any services or applications on the source machine that are not essential for the operating system to function. This includes antivirus software and database services, which can interfere with the conversion process.
- Use the Latest Version of Converter: VMware regularly updates vCenter Converter. Using the most recent version ensures better compatibility and access to the latest features and fixes.
- Monitor System Performance: Keep an eye on the performance of both the source and destination systems during the conversion. Resource overutilization can lead to failures or poor performance of the resulting VM.
- Post-Conversion Validation: After conversion, validate the VM thoroughly. Check all applications, services, and data to ensure everything is functioning as expected.
Troubleshooting Common Issues in vCenter Converter
Even with careful planning, you might encounter issues during conversions. Here are common problems and their solutions:
- Network Connectivity Problems: If the Converter can’t connect to the source or destination, check your network settings. Ensure the correct ports are open and there’s no firewall blocking the traffic.
- Conversion Failures or Errors: Look into the Converter logs for specific error messages. Often, issues like insufficient storage, permissions problems, or incompatible hardware versions can cause failures. Adjusting the source or destination settings accordingly can resolve these issues.
- Slow Conversion Speeds: This can be due to network issues or high load on the source system. Optimizing network performance and reducing the load on the source can help speed up the process.
- VM Boot-Up Issues Post-Conversion: If the new VM fails to boot, it could be due to driver or hardware compatibility issues. Booting the VM in safe mode and installing the necessary drivers or making appropriate hardware changes can often resolve this.
- Application or Service Errors in the Converted VM: This can occur if certain services or applications were active during conversion. Re-converting with these services disabled, or manually adjusting settings post-conversion, can rectify such issues.
Conclusion and Next Steps in Virtualization
vCenter Converter VMware is a robust tool that simplifies the transition to virtual environments. By understanding its functionalities and best practices, you can effectively leverage P2V and V2V conversions, paving the way for a more flexible and scalable IT infrastructure.